
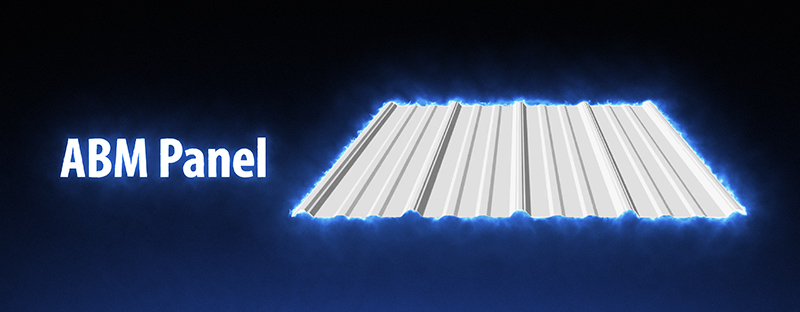
ABM Panel
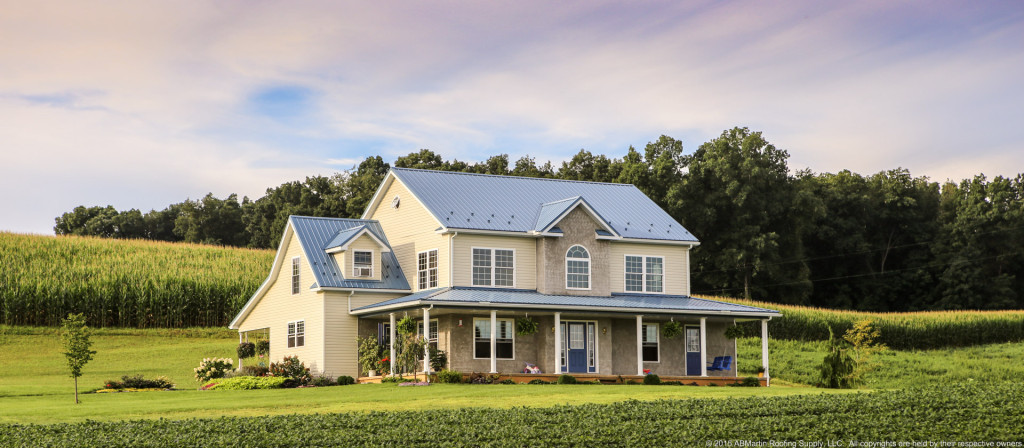
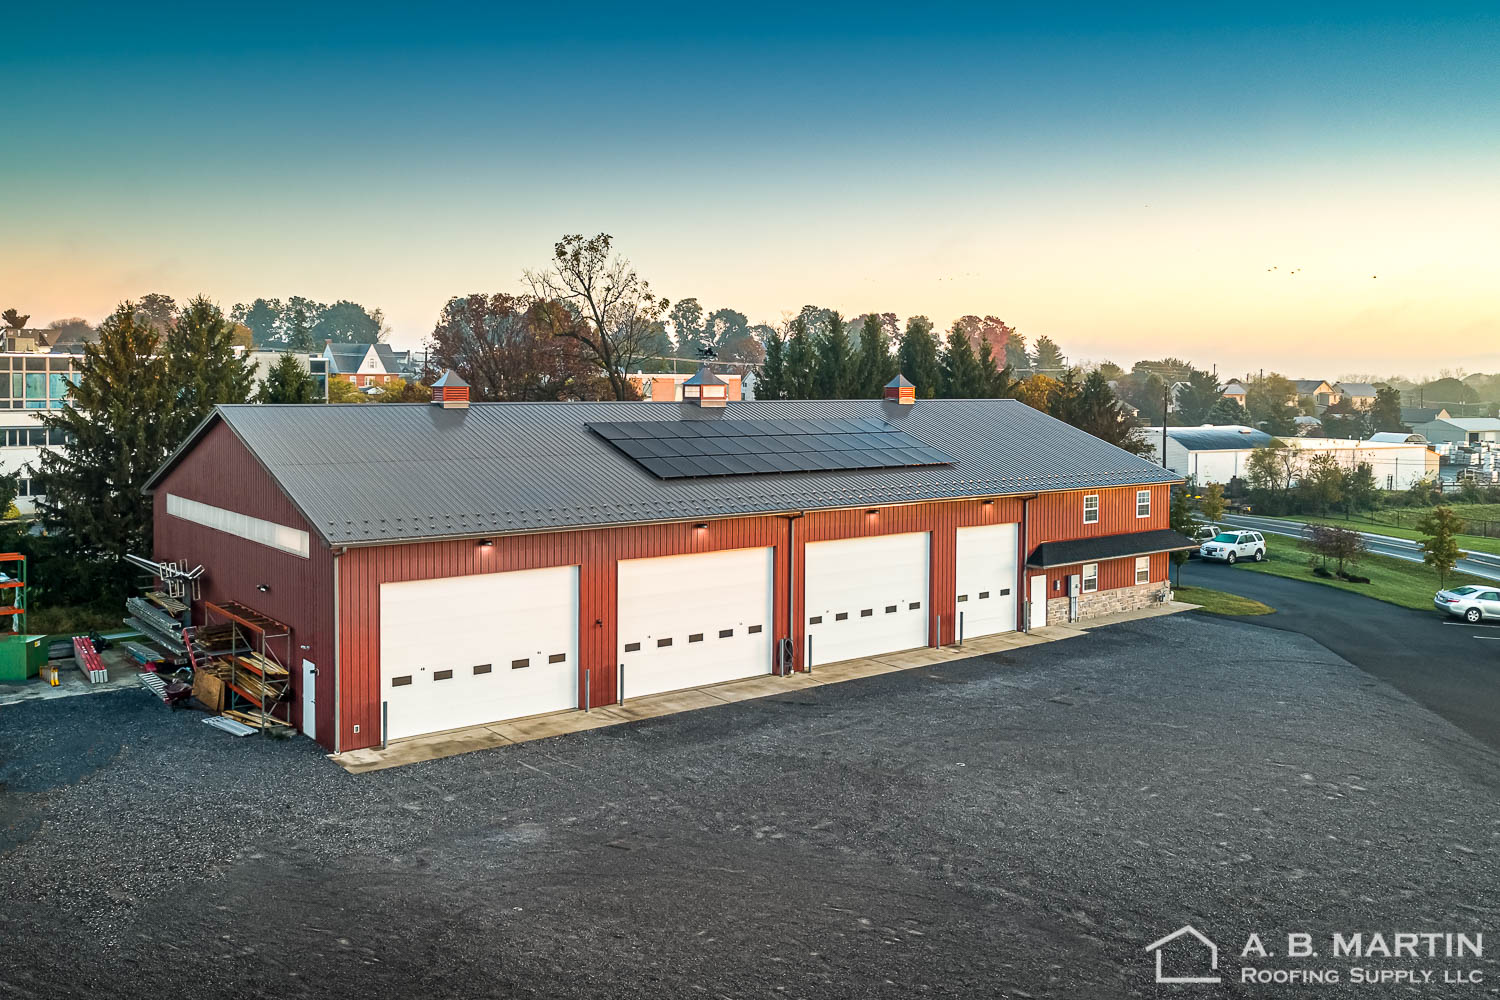
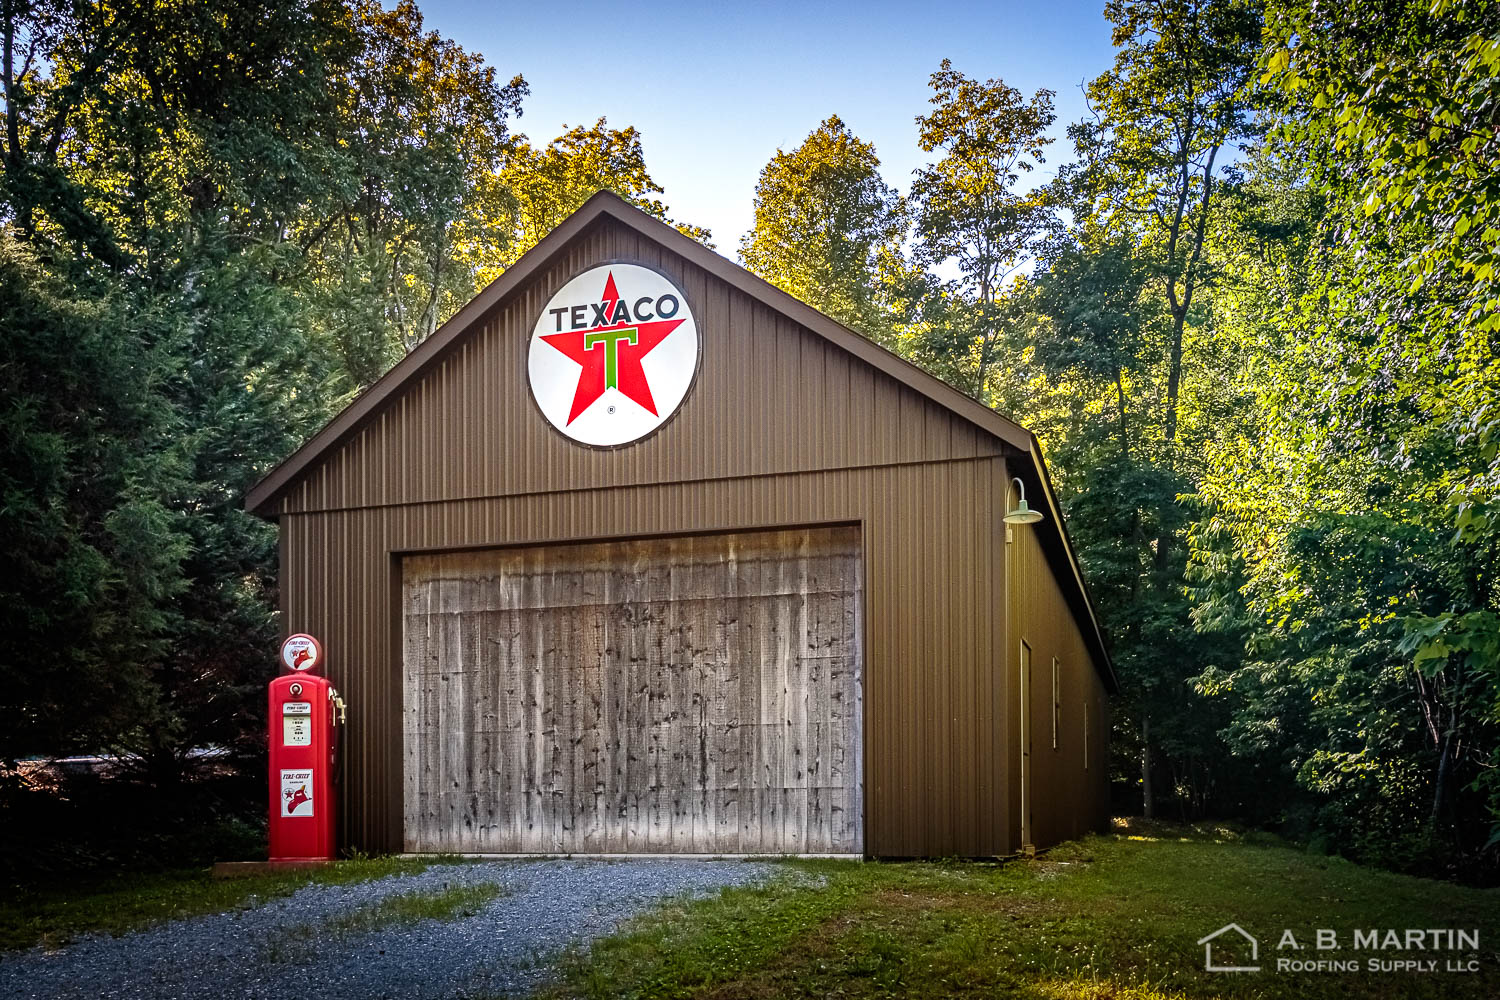
Our most popular metal panel is by far the heavy-duty and long-lasting ABM Panel. This specially coated panel reflects as much as 84% of the sun’s energy away from the roof, resulting in a cooler building in summer, more energy savings, and greater comfort. The ABM Panel is an excellent choice for residential, commercial, and agricultural roofing and siding.
ABM Panel Features:
View the ABM Panel specification sheet.
Smooth Panel
28 Gauge
- Coverage: 36″
- Rib Spacing: 9″
- Rib Height: 3/4″
- Substrate: G-100 Galvanized (recommended for animal confinement) or AZ-50 Galvalume
- Available in over 25 high-performance colors
- Heat-formed (See Why →)
- Cut to custom lengths in hours…not days*
- 40-year warranty + 10-year edge rust warranty on Premium G100 panels (see warranty for details)
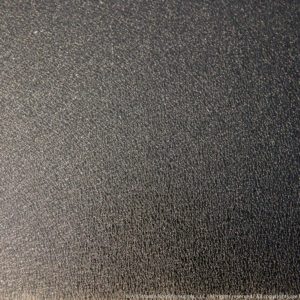
Glare-resistant Texture Panel
26 Gauge
- Coverage: 36″
- Rib Spacing: 9″
- Rib Height: 3/4″
- Substrate: AZ-50 Galvalume
- Available in 15 high-performance colors including 15 glare-resistant textured colors
- Heat-formed (See Why →)
- Cut to custom lengths in hours…not days*
- 40-year warranty (see warranty for details)

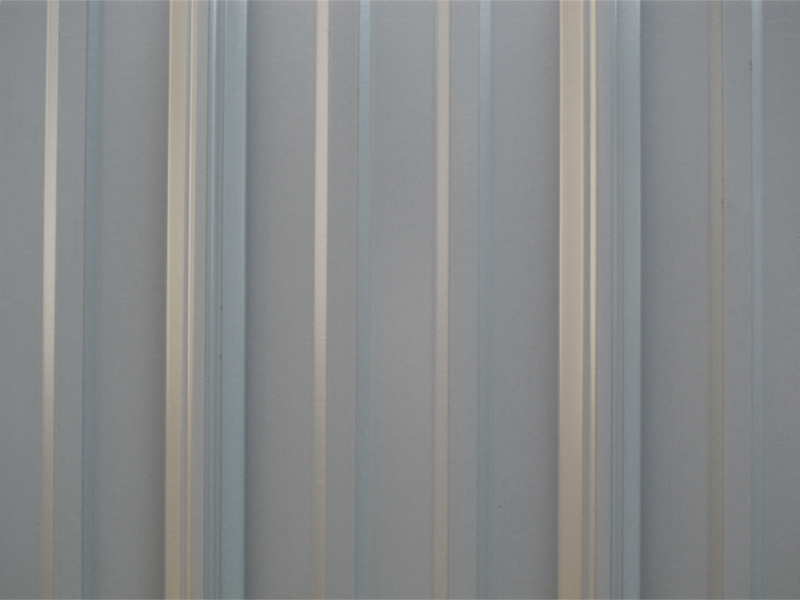
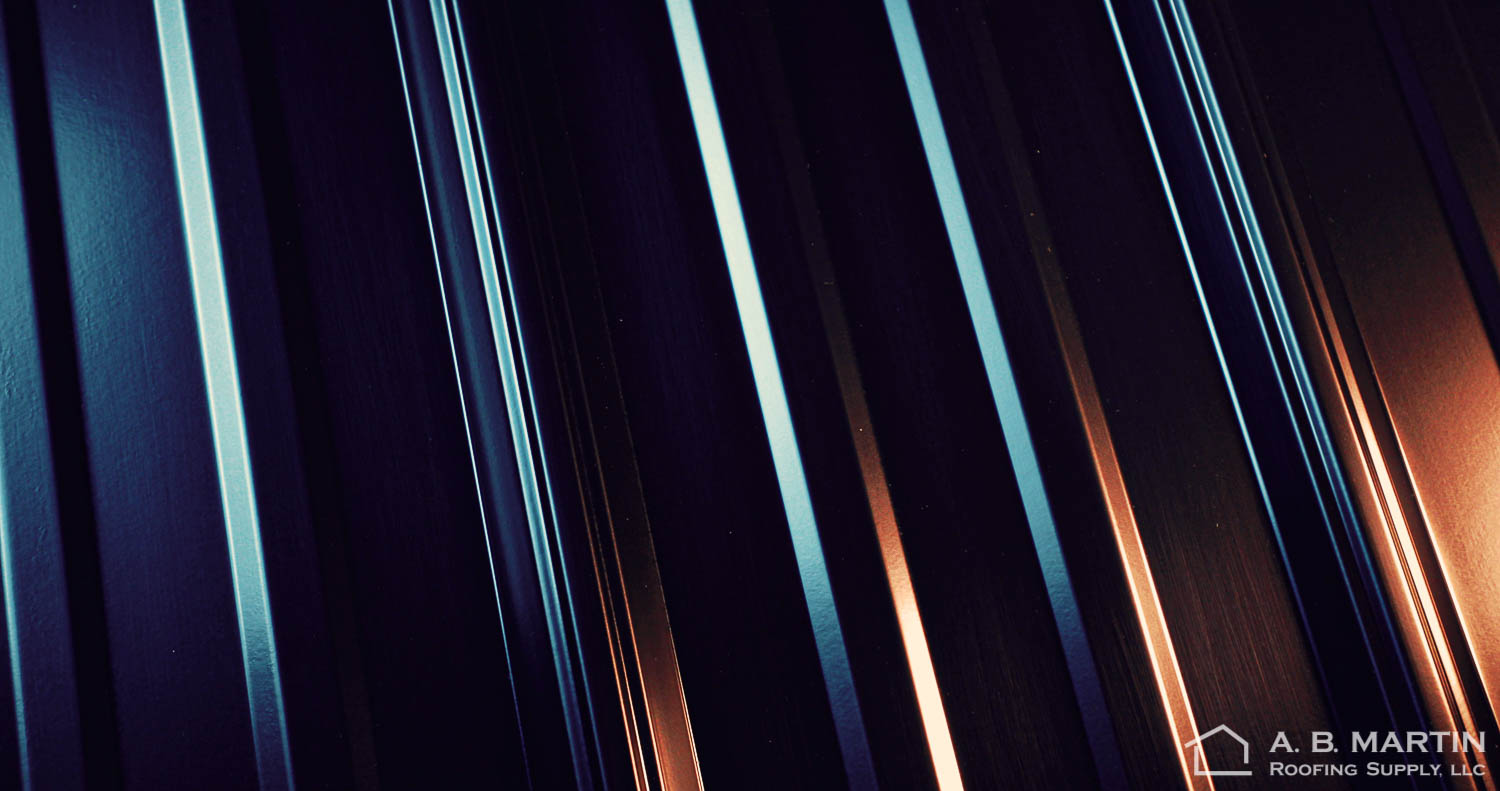
ABM Panel Profile

![]()
Heavy-duty 28 Gauge Steel
Thicker steel means more durability and impact resistance. The ABM Panel is available in 28 gauge Standard Galvalume (not for animal confinement) and Premium G-100 Galvanized steel. It’s also available in the heavier 26 gauge in 15 textured colors.
Made to Custom Lengths
This means you’re not paying for that extra 2 feet or 1/2 inch that you don’t need. Plus, think of all the time your saving by not having to trim down each panel to size.
See how the ABM Panel is made.
Ready in Hours
If sizes change, or you come up a few pieces short, you’re not looking at 2-week lead times. The ABM Panel is ready in hours… not days.*
Heat-formed
The details matter… even if you need a microscope to see them. As the panel is formed, the steel is heated to prevent microscopic cracking of the paint coating that protects against rust.
Energy Efficient
The radiant heat-blocking property of the steel and the reflectivity of the paint can save on your energy bills. Check out the Solar Reflectivity Index to see the reflectivity testing of each color.
40-year Paint Warranties
You can enjoy the benefits for many years to come.
Here is what one of our satisfied customers had to say about the cost of the ABM Panel compared to Asphalt Shingles.
“I recently needed a new roof and saw an ad for AB Martin Roofing Supply. It claimed that a metal roof is not nearly as costly as I had thought. I contacted my contractor and had him prepare a quote for my roof. As advertised the quote for a metal roof was not much more than a shingle roof. For me the little extra was well worth getting a roof that would require less maintenance and last twice as long. I am pleased with my roof and would recommend anyone to consider a metal roof ”
~ Anthony, Ephrata
Want to learn more? See the Advantages and Disadvantages of Steel Roofing.
-
-

-
-

-
-

-
-
-
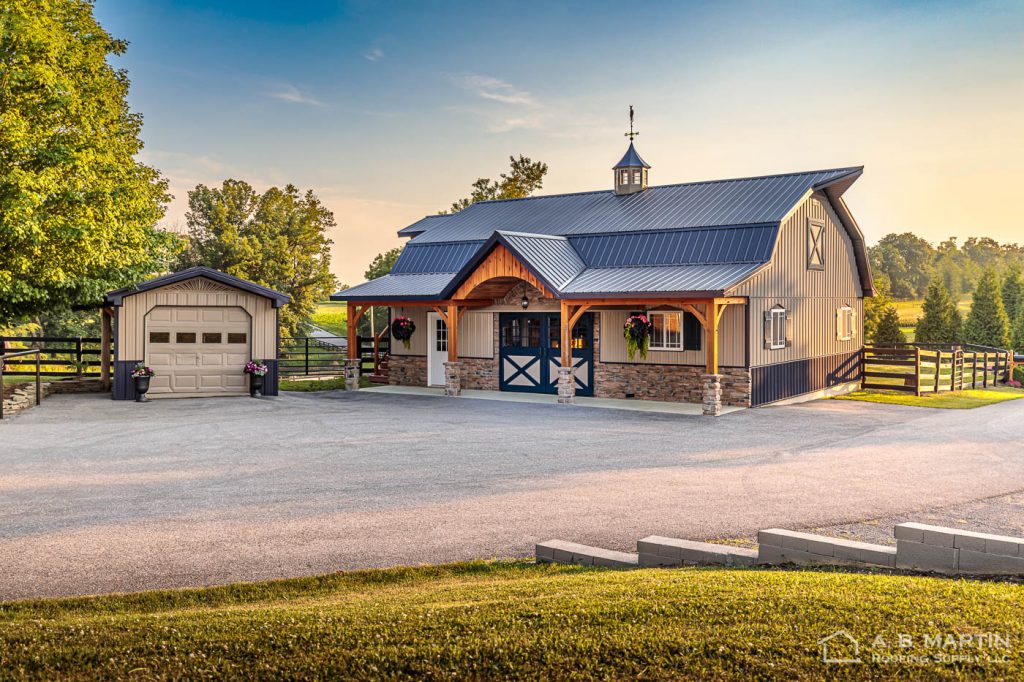
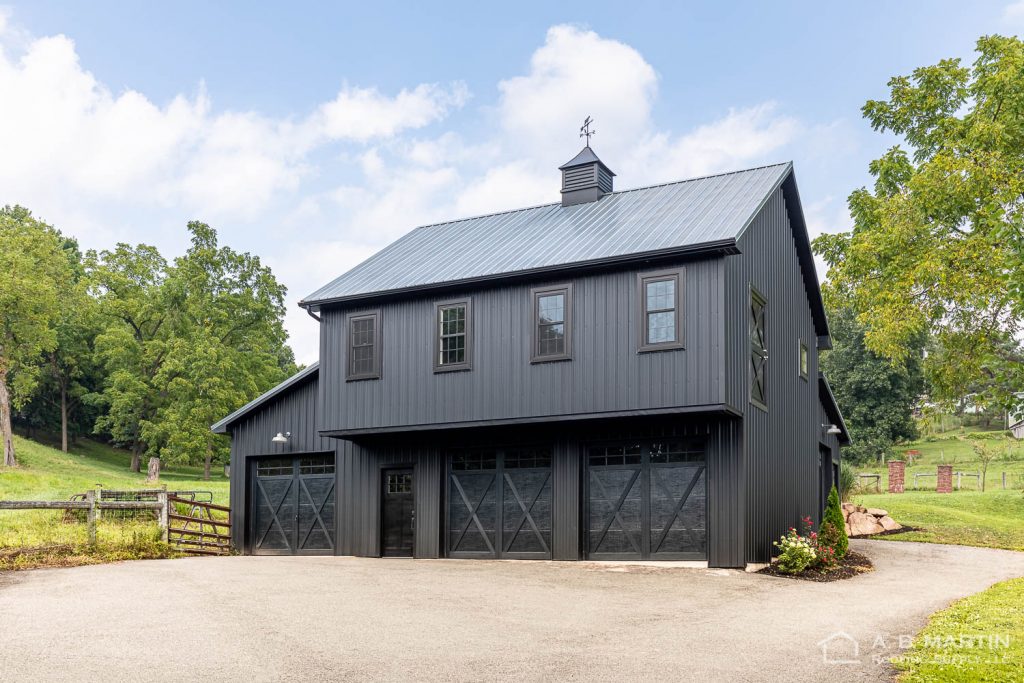
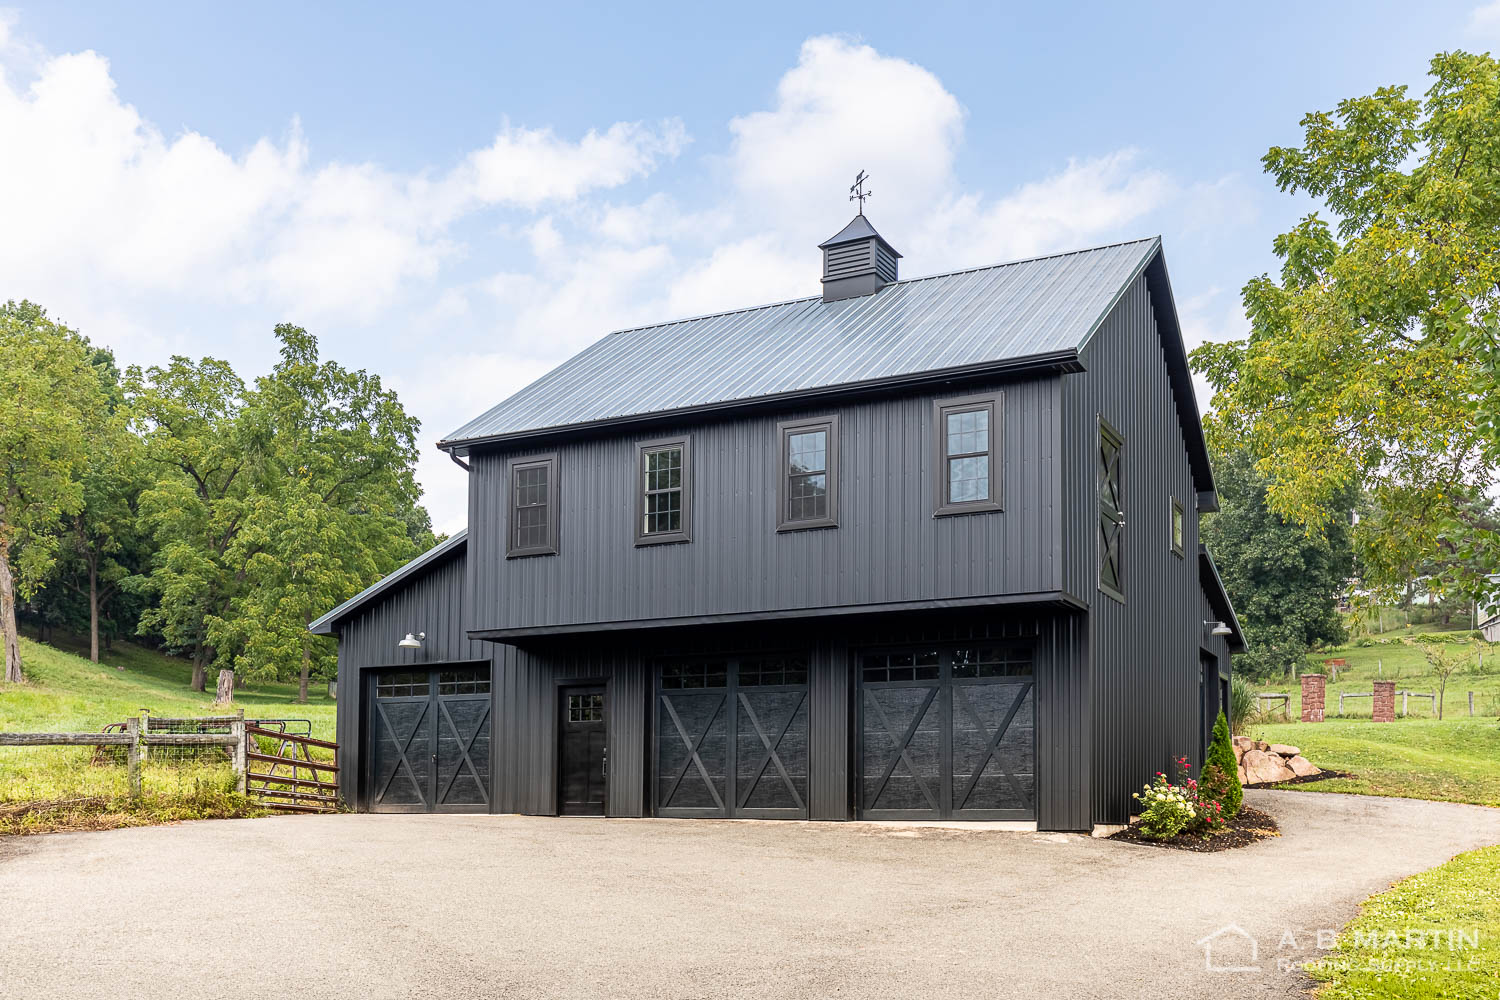
House with Textured Charcoal ABM Panel -

-


More photos in our Photo Gallery.
*All metal panels and some trims are made to order and are not returnable.